I rely on the London Underground on all of my regular trips into London. Whether I’m crossing the city on my own or taking my daughter to a weekend class, it’s the easiest way to get around in London.
It can seem complicated at first, but learning how to use the London Underground is well worth your effort. I’ve put together this guide to help you navigate like a local as quickly as possible.
This article contains affiliate links, which means that I may earn a small commission when you make a purchase. Affiliate links cost you nothing to use, and they help keep my content free – a win-win! For more information, see the affiliate disclosure.
Know Before You Go: London Underground
📌 Fare zones and caps. Most tourist attractions are in Zones 1-2. It’s easiest to pay as you go – no need to pre-book tickets. The daily fare cap for Zone 1-2 is £8.90 for an adult.
📱 Navigate with your phone. I routinely use Google Maps and Citymapper to plan my travels around London. Keep your apps handy without extortionate roaming fees by purchasing a travel eSIM from Airalo. Prices start at $5.00 for 1GB of data.
🚆 Note the different train lines. The London Underground is not the same as National Rail trains. You can pay in the same manner for National Rail on services within London, but need separate tickets to go further. Pre-book your day trips outside London with Trainline to find the best prices and travel times.
London Underground Map
The London Tube map is really pretty, and thankfully not hard to use once you get the hang of it.
Tips for Reading the Tube Map
Ready to make sense of the squiggly lines? Here’s how you can find your way around the map.
- Tube lines are color coded. For example, the Central line is red and the Elizabeth line is purple. You can see each station the line calls at by following the same color pathway.
- Zones matter for fare calculation, but you don’t have to do the math. You’re likely spending most of your time in Zones 1-2. If you travel further, then the price goes up. However, you don’t have to sort this out yourself. Your fare is calculated automatically based on which stations you enter and exit.
Travel Tip: TFL charges appear overnight, so make sure you don’t have bank charge notifications set to alert you at all hours.
- Don’t assume distance by the Tube map. This map is pretty and easy to read, but it is not geographically accurate. In fact, some stops are so close that you’d be faster walking from one to the other rather than riding the train.
- Download an offline map or plan your journey before you set out. Several of the Tube lines do not have working cell service or WiFi onboard, so you’ll need to rely on wall maps if you don’t plan ahead.
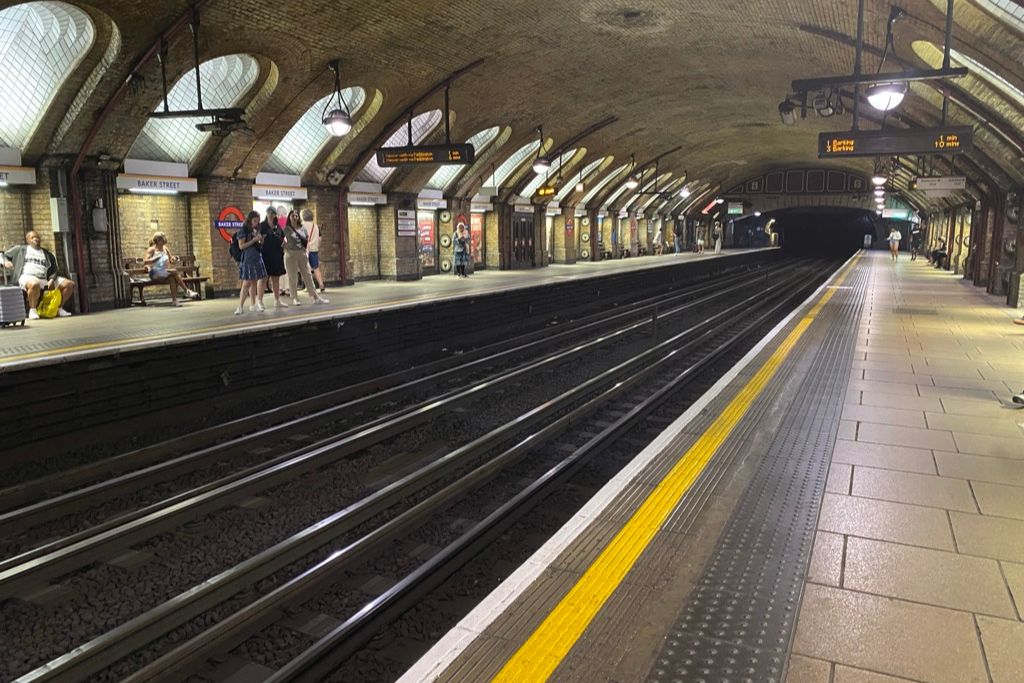
Where to Find Tube Maps on Your Journey
Each station will have Tube maps on the wall and signs near the platforms will list out the stations visited by the train in each direction. If you aren’t sure whether your train needs to head east or west, just look for your exit station on the wall sign and head to the train calling at that station.
Once you are on the train, there are maps listing each stop near the train ceiling. There will also be audio announcements of each station as your train approaches a stop.
London Tube Payment Options
Tap to Pay / Pay as You Go
Pay as you go is how I travel in London and it’s what I recommend for visitors. You don’t have to buy tickets from the station, just have a contactless payment method set up and you’re good to go.
The easiest setup is to have your travel credit card attached to ApplePay or a similar system. You can also use your physical card if it allows tap to pay.
Travel Tip: Check with your bank before traveling to make sure your travel card does not charge foreign transaction fees.
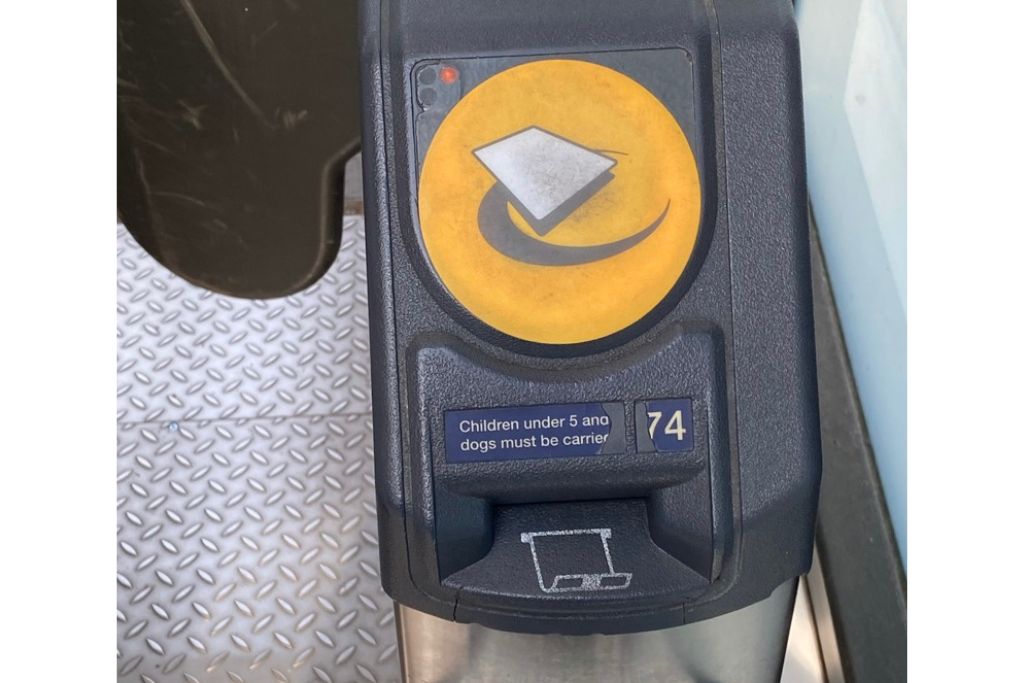
You’ll use your phone or card to tap on the yellow pad as you enter and exit the station gates. Your fare will be calculated automatically to equal the cost of your individual fares, or charged at the daily cap (currently £8.90 per day for an adult).
Travel Tip: Don’t forget to tap on your way out! Even if you see an open gate, don’t assume you should leave without again tapping your payment. TfL determines charges based on where you tap in and out. If you fail to tap at either end, you may be charged a maximum fare that can exceed the daily cap – even if this was your only journey for the day.
Oyster Card
The Oyster card was the way to pay before tap to pay technology took off. These days you don’t need to get one unless you’d like to have it as a souvenir.
If you’re using an Oyster, you can top it up with more funds as needed at any Tube station. You can also see how much is left on your Oyster by visiting one of the top up machines or noting the screen on the gate as you scan through (it will briefly display how much you have left on your card).
Travel Tip: A Visitor Oyster is a great option for tweens and teenagers. Fares are discounted for 11-15 year olds, and teens can use this prepaid card if you don’t want them carrying a credit card.
Travelcard
It is possible to buy a paper travelcard that grants unlimited use in designated zones for one day or more. This is rarely a bargain for London tourists because you need to use it often over an extended period before it starts to show savings. For that reason, I recommend skipping this purchase and sticking with your tap to pay card or Oyster.
Step-by-Step Guide to Using the London Underground
Ready to get going? This is the same Tube travel advice I share with my friends and family members visiting London.
1. Use an app to plan your route. I rely on Google Maps to look up the best way to get around, and compare walking, bus and Tube routes. TfL also has a dedicated app called TfL Go that maps all London public transportation routes.
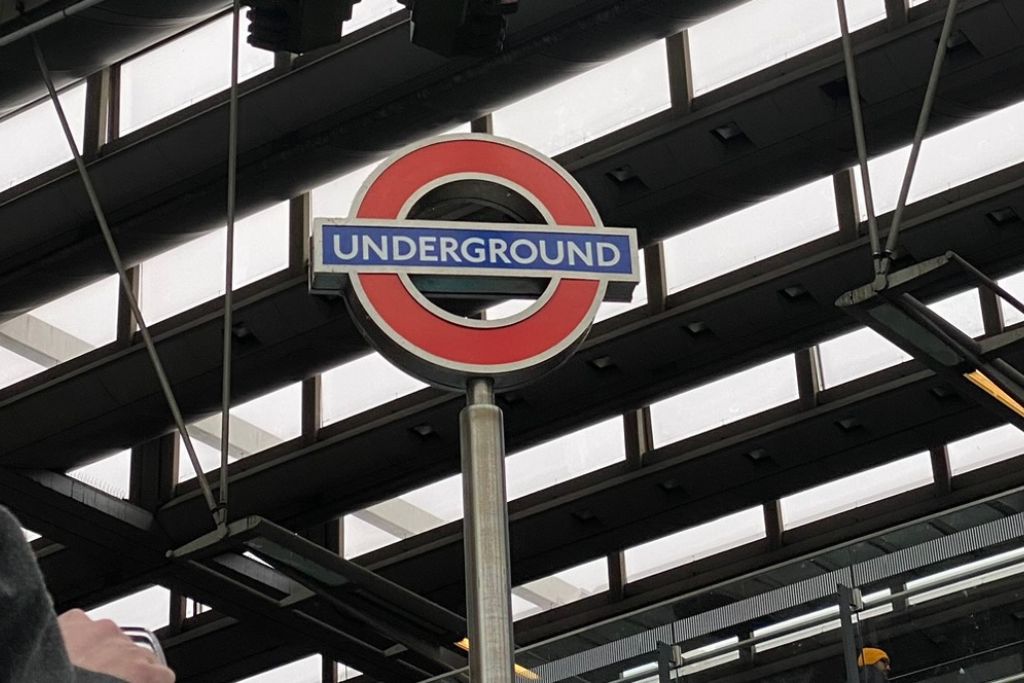
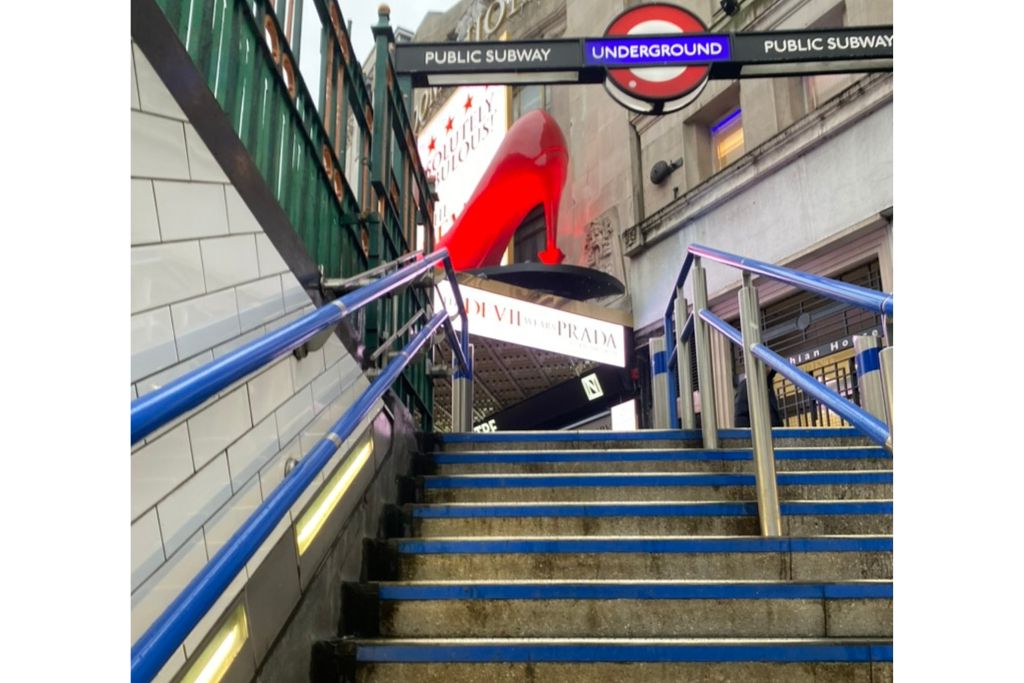
2. Look for the Underground sign. Many Tube entrances are open to the street similar to a shopfront, which makes them easy to spot. Sometimes, though, you need to head down a flight of stairs from street level to reach the station – for these, keep an eye out for London Underground signs to point you the right way.
3. Check station signs for your Tube line. Once you’re in the station, be mindful that gates for different lines are sometimes separated. Check the signs before you enter to be sure you’re headed toward the correct line.
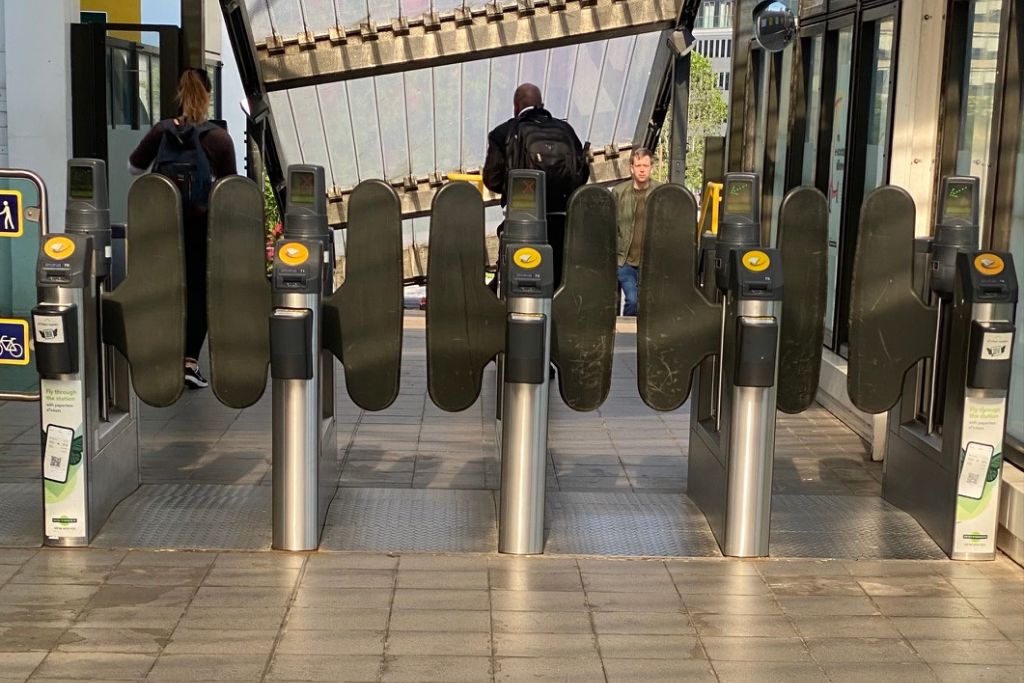
4. Enter via the gates by tapping your card on the pad next to the entry gate. Gates are sectioned for incoming and exiting traffic. Use the gates with a green arrow. A red X means the gate is for traffic going the opposite direction.
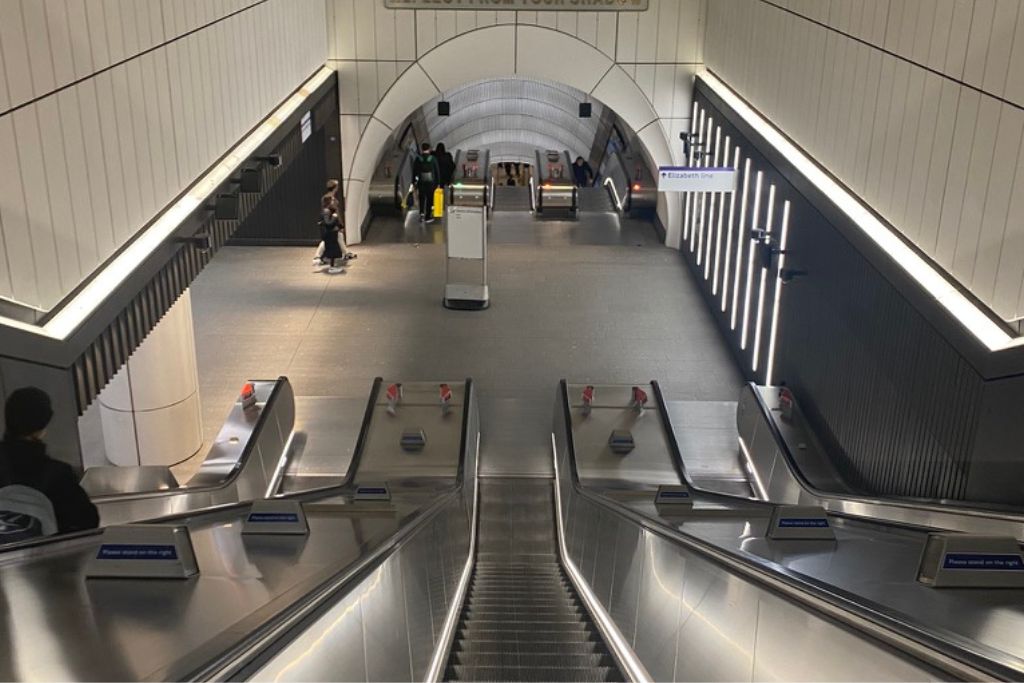
5. Stand on the right on escalators. If you have luggage, place it on the step right in front of you. Busy commuters will walk swiftly down the left side. Trust me that you don’t want to be in their way.
6. Follow signs to your platform. The wall signs point you toward your Tube line using compass directions (North, South, East, West), and also list the stations for each direction.
7. Move down the platform. You can enter the train from any door – walk down the platform away from where you entered to lessen crowding.
8. Let people out first. Tube doors open automatically and those departing this platform will step out. Be sure to let others off before you board.
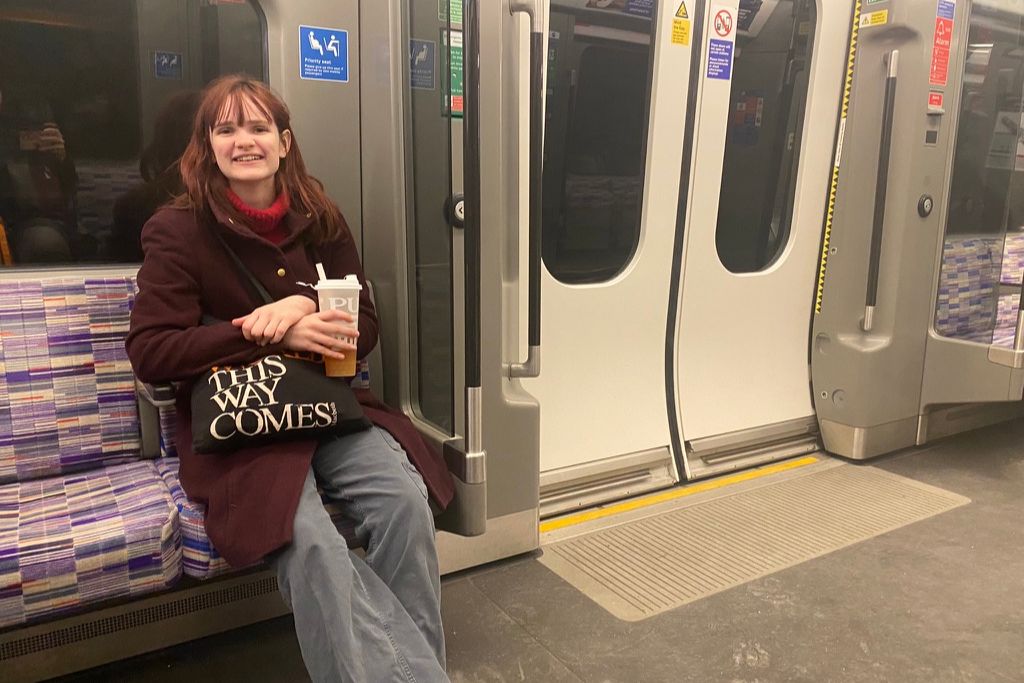
9. Ok to sit or stand. Once onboard you can take any open seat or stand holding onto a railing.
10. Find the exit gates. When you exit the train, look for “Way Out” signs to find the station exits. Sometimes there are multiple station exits, so it helps to know which street you want to head to.
Tube Etiquette and Safety Tips
Most expected behavior on the Tube is in line with what you’d expect visiting any city. Keep these tips in mind for a safe and pleasant journey.
Stand on the right!
I know I’ve already mentioned this, but it’s a simple mistake I see tourists make all the time. When using the escalators, always stand on the right so that people in a hurry can walk past on the left.
Move along the platform
The platform area near where people come off the escalators is often crowded, especially during rush hour. Walk toward the front or back of the train platform for a better chance of getting a seat and a less hectic boarding experience.
Don’t worry if you miss a train
Londoners sometimes stress over missing their train, but there’s rarely a reason to rush. Trains arrive every 2–5 minutes, even during off-peak hours. If you just missed one, don’t stress — another will be along shortly.
Let people off before you board
It’s standard Tube etiquette to stand to the side of the doors and let passengers exit before you step on. Crowding the doors or pushing through is considered rude.
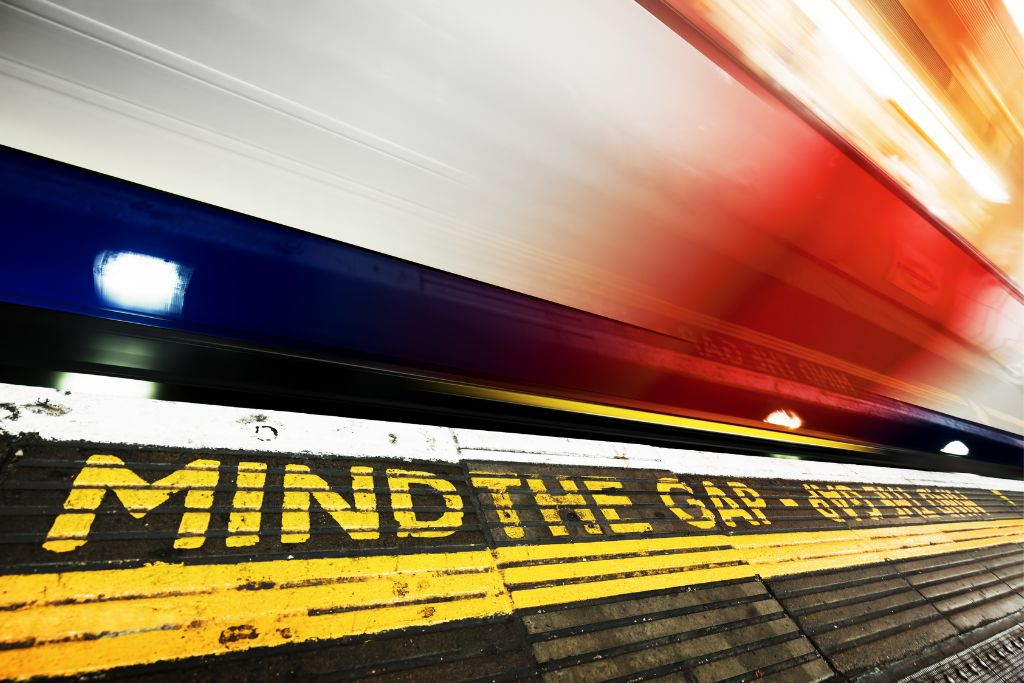
Mind the gap!
You’ll hear this famous phrase repeated plenty, but it does serve a purpose. Some platforms have large gaps between the train and the platform edge. Watch your step, especially if you’re carrying luggage or traveling with children.
Keep your belongings safe
London is generally very safe, but you should carry your bag in front of you on crowded trains and avoid storing valuables in your back pockets. Pickpockets are common on trains and in busy stations, especially those used by a lot of tourists like Westminster or Piccadilly Circus.
Respect priority seating
Seats nearest the doors are marked as priority for elderly, pregnant, or disabled passengers. You can sit there if the seat is free, but offer your seat if someone boards who may need it more.
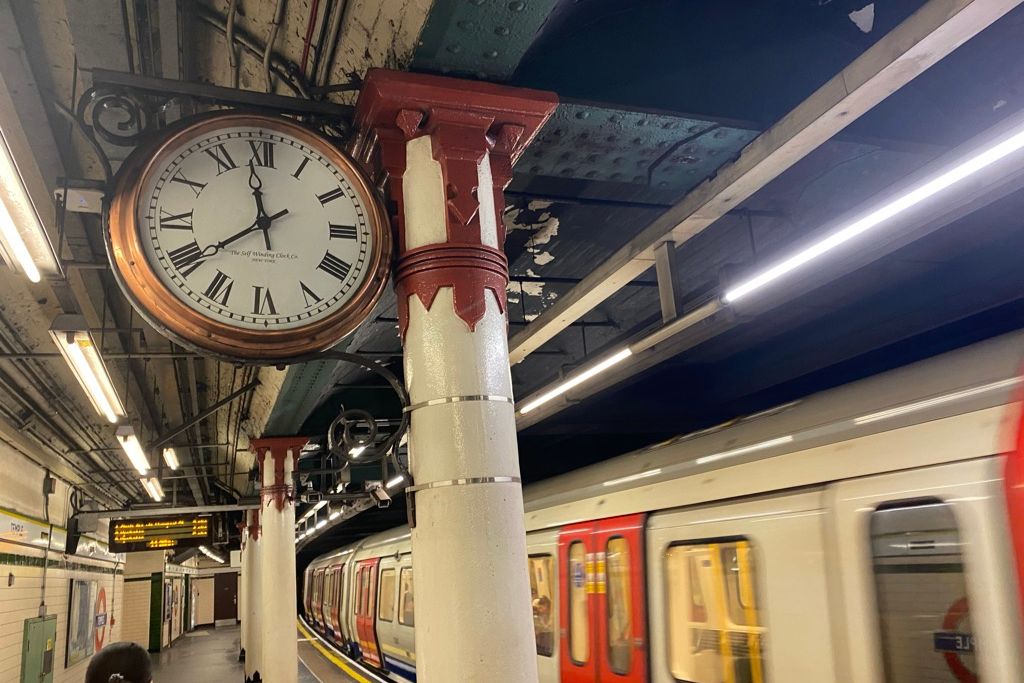
Prepare for noise
Some of London’s older Tube lines, especially the Northern and Bakerloo lines, are really loud. The screeching and rattling noise sounds like you’re hearing the Industrial Revolution as it happened. If you’re sensitive to sound, consider wearing earplugs or noise-canceling headphones.
Accessible Travel Tips
Many Tube stations have stairs, escalators, or narrow corridors, which can be challenging for those with limited mobility or wheelchairs. They can also be a busy and hectic environment during peak hours, which can be overwhelming.
Transport for London has accessibility tools that can help you plan, including a step-free Tube map, accessibility guides and an audio Tube map.
London’s newest Elizabeth line offers step-free access at most stations and spacious carriages. It won’t get you everywhere, but it is the best option when it overlaps with your journey.
Family Travel Tips
My daughter has been riding the Tube with me since she was a toddler. It can be a fun and exciting experience with kids, but keep these tips in mind to avoid extra stress.
Kids under 11 travel free
Children under age 11 travel free on the Tube and buses when accompanied by a fare-paying adult. No ticket or Oyster card is needed for your child. I recommend using the wide barrier gates and just bring them through with you when you tap in and out.
Discount travel for kids 11–15
For kids aged 11 to 15, I recommend ordering a Visitor Oyster card before your trip. You do need to order this in advance as it will be mailed to your home. Once in London, visit any Tube station or TfL Visitor Centre to have a Young Visitor Discount added. The discount is well worth the hassle as it gives 50% off the adult fare price for up to 14 days.
Travel Tip: You can find a TfL Visitor Centre in Heathrow airport at the Terminals 2 & 3 Tube station. Stop here to get the discount added before you take your first Tube journey.
Using the Tube with a stroller
Many Tube stations don’t have elevators, and they can be hard to find even when they do exist. If you need to use a stroller, I recommend bringing a lightweight foldable version that you can carry up or down stairs as needed.
6 Common Mistakes to Avoid on the London Underground
1. Forgetting to tap in and out
Not tapping in or out with your contactless or Oyster card results in a maximum fare charge, even if your journey was short. Most of the time you have to tap to get through a gate, but don’t be tempted to just walk through if you see one open.
2. Trying to squeeze luggage through narrow gates
You’ll find wide luggage gates at every station specifically for this purpose. Luggage gates are often near a staffed booth.
3. Getting lost at large stations
Some of the big interchange stations can feel like an underground maze. Bank station is notorious for confusing people who have lived in London for years. Check signs as you go and don’t be afraid to ask directions if you do get lost.

4. Buying a 1-day Travelcard
In most cases, using your contactless payment or Oyster is cheaper and automatically capped each day. Paper Travelcards are easier to lose and don’t save money unless you’ll be in London for at least a few weeks consecutively.
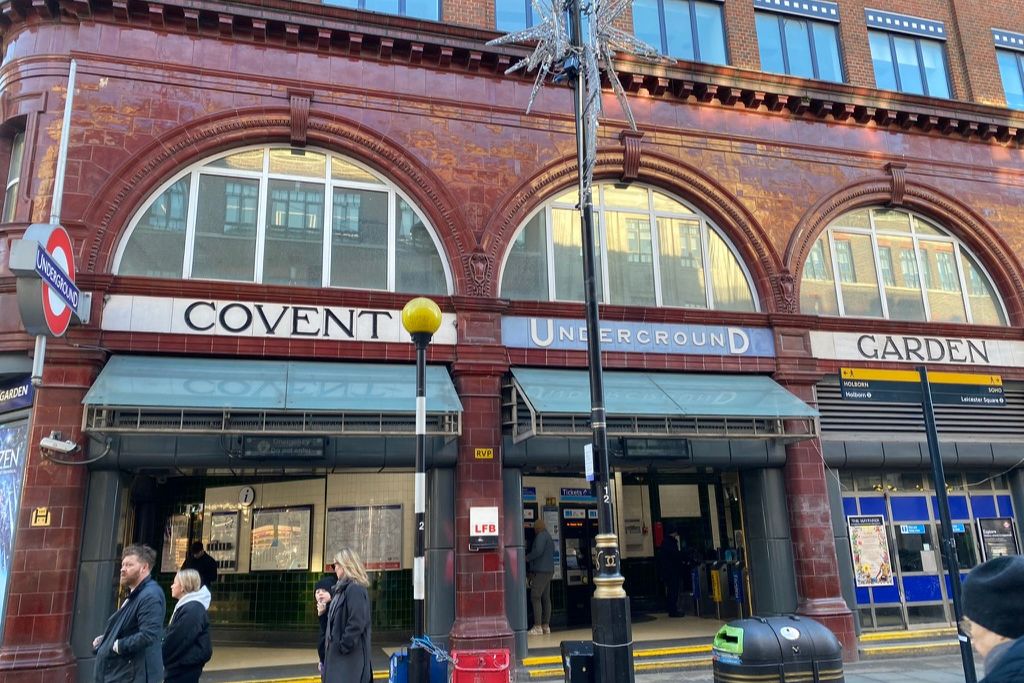
5. Taking the stairs at Covent Garden
This station is right in the heart of London, but is a different experience to others because there are no escalators. Unless you’re looking for a workout, avoid the 193-step spiral staircase (the equivalent of 15 stories!). Take the lift instead.
6. Overusing the Tube
Don’t bother with the Tube for every trip. London is wonderful for exploring on foot, and you don’t want to miss out. You’ll find it’s sometimes even faster to walk between attractions. Covent Garden to Leicester Square is only a four minute walk!
Travel Tip: I like to group sightseeing by area so that I can explore on foot as much as possible. Don’t miss my London travel itineraries that stick to this planning for 1-7 days in the city.
The Tube is One of the Best Things About Visiting London
The London Underground is iconic and a surprisingly easy way to get around once you understand the basics. If you’re nervous at first, don’t worry — even locals still check the signs!
There’s no shame in asking staff for help. They’re used to helping tourists find their way and are usually pretty friendly. It won’t be long before you’re navigating like a pro.
FAQs about Using the London Underground
Which Tube line goes between Heathrow and Central London?
Either the Piccadilly or Elizabeth line. Piccadilly stops at more places, while the Elizabeth line is the most pleasant and accessible Tube journey. Find the best line for you by routing to your hotel on Google Maps.
Should I take the bus or Tube in London?
The Tube is often faster than the bus since it is not subject to road traffic. However, London buses are great for seeing the sights along the way. I recommend using the Tube for most journeys, but also try out the bus a time or two on your trip. Bus route 24 goes by several of London’s top sights.
Which London attractions are outside Zones 1-2?
A few popular spots may draw you out of London’s most central zones. Zone 3 holds Kew Gardens, Hampstead and parts of Greenwich. Hampton Court Palace and Heathrow airport are in Zone 6.
Can I tap to pay for day trips from London by train?
You can use contactless payment for trips within London. If you are heading on a day trip to Oxford, Bath, Brighton, or anywhere else outside of London, then you will need to buy a National Rail ticket.
👉 Check timetables and book the cheapest National Rail tickets through Trainline.
How do I tap in when I arrive by National Rail?
If you take a day trip and find yourself inside the Tube station without going through a gate, you still need to tap! For example, if you take a day trip to Arundel Castle and return to Farringdon by train you’ll have to tap before catching the Elizabeth line.
There are standalone tap pads for this, usually near the escalators between the National Rail trains and the Tube. Keep an eye out for them and ask if you’re not sure whether you need to tap or not.
Which London Tube line is the best?
I prefer the Elizabeth line, as do most Londoners. It’s air conditioned, step-free and it’s never as crowded as other lines. It also will take you direct from Heathrow airport to central London.
More London Planning Help
Don’t miss these posts for more help planning a perfect trip to London: